This past weekend was a a holiday weekend for us as it was Canada Day (Canada's 146th Birthday) on July 1st. Along with Canada a very special boy turned 4 - my nephew and Godson! He is such a special little guy and since we were having a Superman theme party for him, I felt that it would be fitting to give myself a superhero manicure for the special occasion!

As Wonder Woman is my favourite superhero and her colours matched those of Superman, I immediately thought of using Nail Laquers from the MAC Wonder Woman Collection that they released back in 2011. The red is called "Wonder Woman" and the blue is "Obey Me"- both cream formulas. (Great 4th of July Colours as well!) I wanted to do a design, but because it was a little late night manicure, I decided to not be so ambitious and do something simpler. Originally I was thinking French manicure, but chose to do a moon manicure instead.

I got started by prepping my nails and making sure that they were clean and free of debris. I filed them down and shaped them before putting petroleum jelly (Vaseline) around my nail beds for easy clean up. I decided to have the moons be red instead of blue, as the red would be easier to cover than the blue. (The blue is too dark and opaque, so it's harder to cover than the red.) I wanted a transition nail, so I decided to try and do the reverse for my ring fingers.


I am a big believer of using materials you have at home, so I used the stickers that are on produce to make the moon manicure. I've used the whole punch protector stickers before, happy face stickers, even tape to make the perfect manicure! Be resourceful! It will save you time and money!
I placed the stickers over the moon colour and painted the blue on the other half of he nail bed. I don't let the polish dry too much as it makes removing the sticker more difficult and the polish to come off with it. I let it dry for about 3 seconds before removing the sticker, this way it keeps a clean rounded line.


Once it was all completely dry, I put a layer of clear top coat to even out the texture and make it smooth on the nail bed. Once I was finished putting on the top coat, ilet it all dry for 15-20 mins to make sure I wouldn't mess it up!


And Voila!
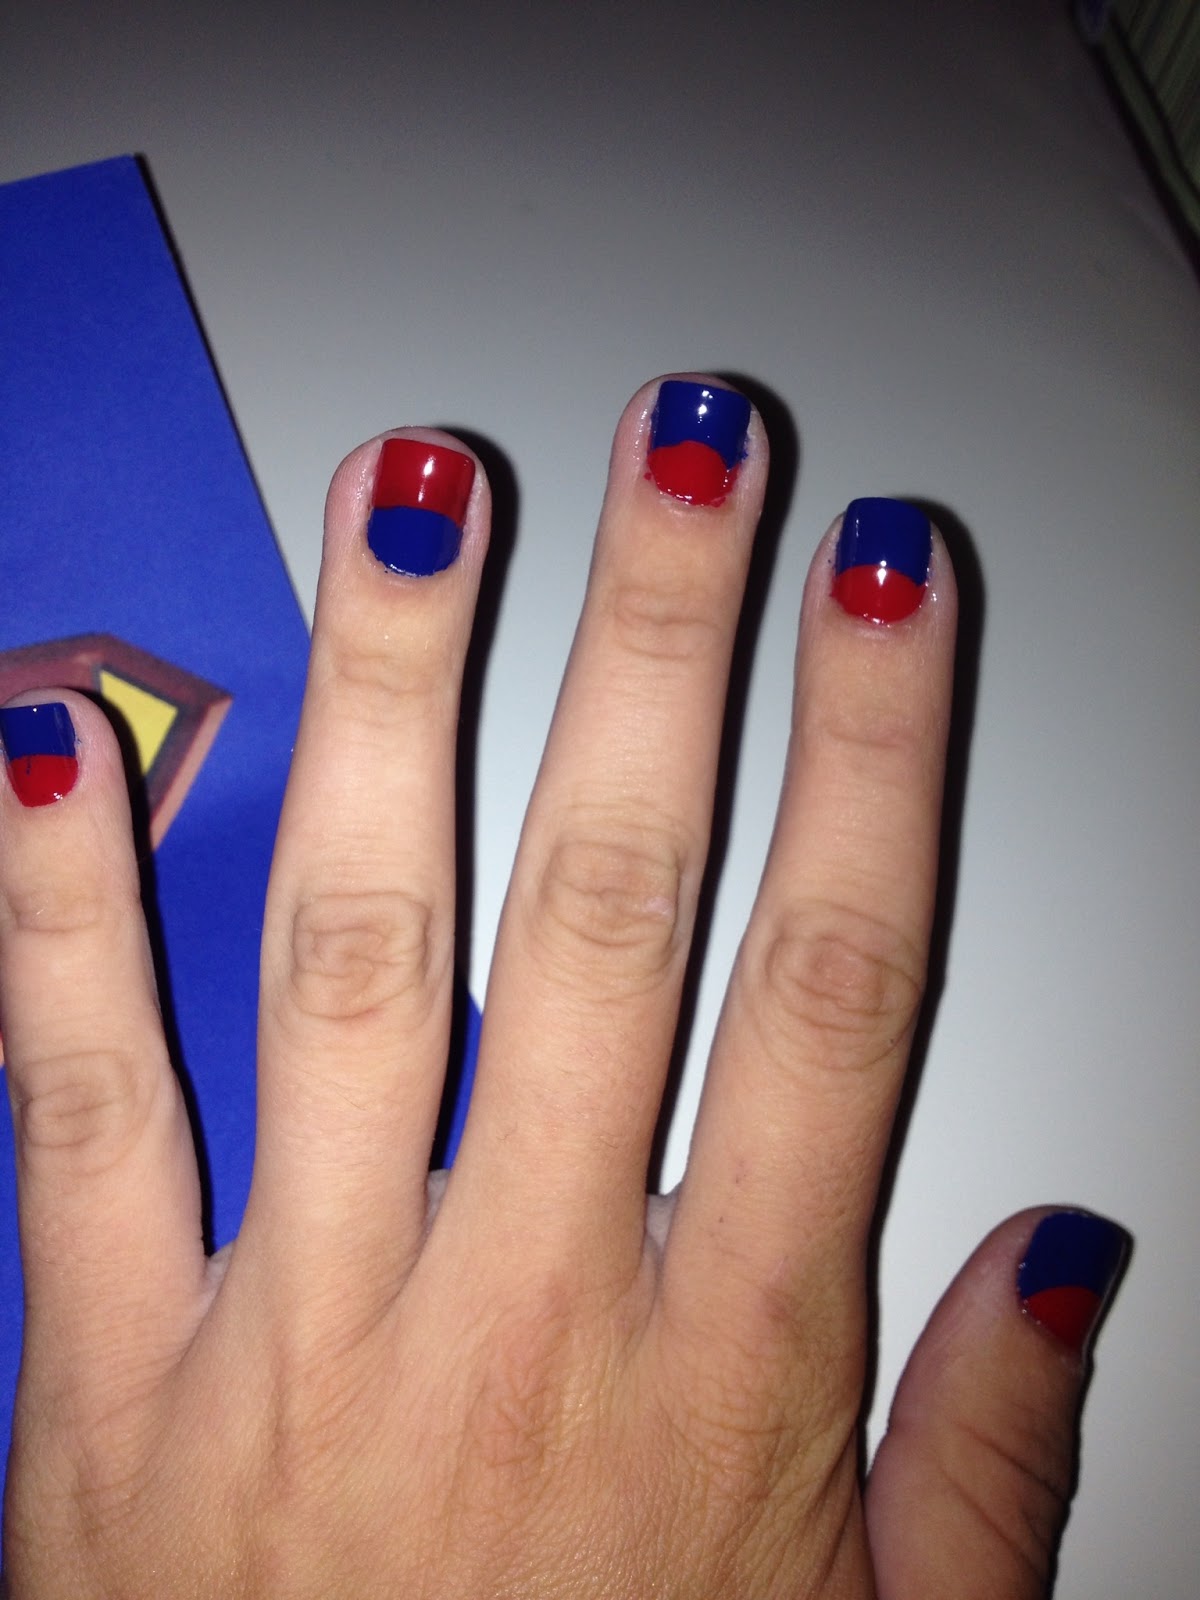

Hope you dolls like this manicure and try it out for yourself, let me know in the comments box how your manicure turned out! This is a great way to incorporate a pair of complimenting colours without having to do the typical French manicure. I really like this style of nail art and I can't wait to try more combinations of colours! Let me know in the comments box below if you like this nail art and if you will try it for yourself! Tag me on Instagram or Twitter with #makeupmasochist so I can see all of your lovely manicures!
For more nail art and manicure posts, please be sure to subscribe to my blog to get notified every time I post! Follow me on Instagram (@fernonje) for more daily posts, photos and videos and you can also follow my blog on Bloglovin' (Makeupmasochist). I would love to read your suggestions or recommendations for manicure ideas, please email me at makeupmasochist@gmail.com !
Have a Super Day! ;)
xoxo
Ashley
No comments:
Post a Comment